Scamp Trailer Side Marker LED Upgrade
Our Scamp 13 came with all incandescent lights, many of which were out or worked intermittently. I started replacing them with LEDs, starting with the side marker lights.
Side Marker Lights
The factory side marker lights on our Scamp 13 were incandescent bulbs with push-in wire connectors. Over time, water appears to have corroded the connectors, which is what was causing the intermittent functioning. I didn't want to drill any new holes in the fiberglass shell of the trailer, so I found some LED side marker lights that had the same bolt pattern (mostly). At the time of writing, they were cheapest on eTrailer.
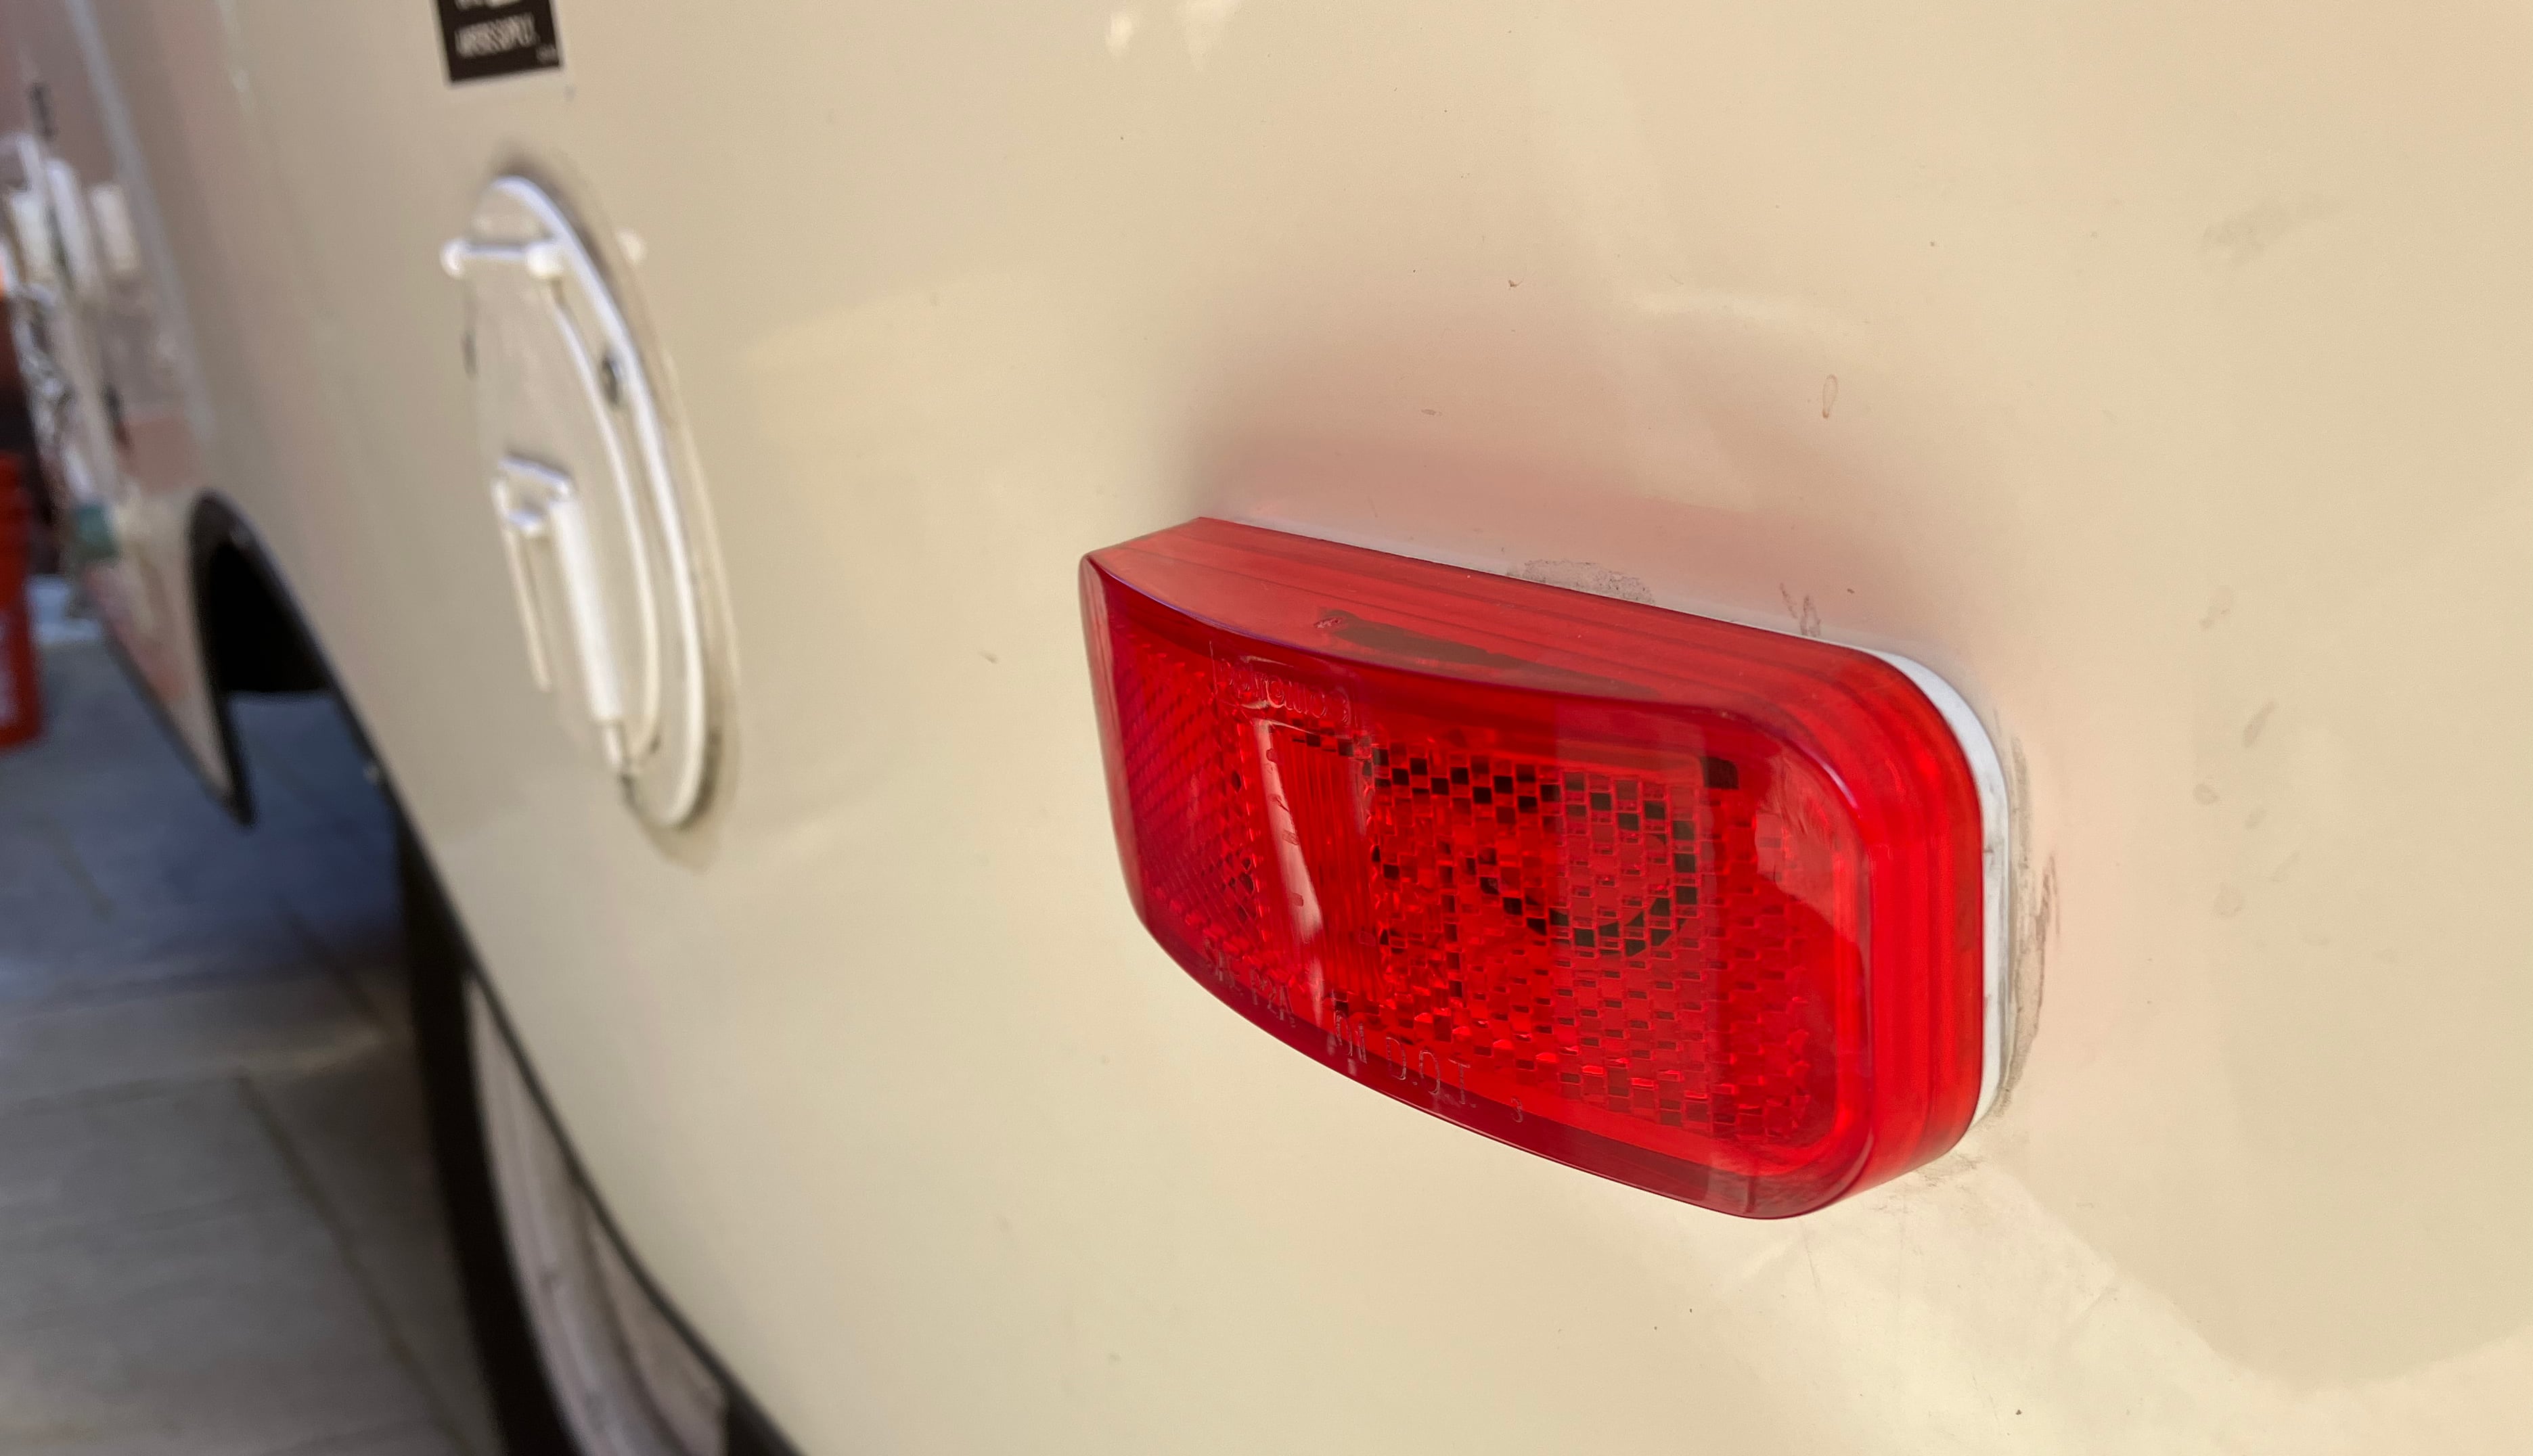
The Optronics lights are roughly the same size as the factory lights, but most importantly, the mounting holes are 3 inches apart, which lines up perfectly with the pre-existing holes drilled in the fiberglass shell. I used WAGO connectors to connect the lights, as there was little to no room to connect the wires on the inside of the trailer. I had to make a small slit in the carpet to access and connect the wires, but it's under the hatch covers inside, so it's not visible once it's all back together.
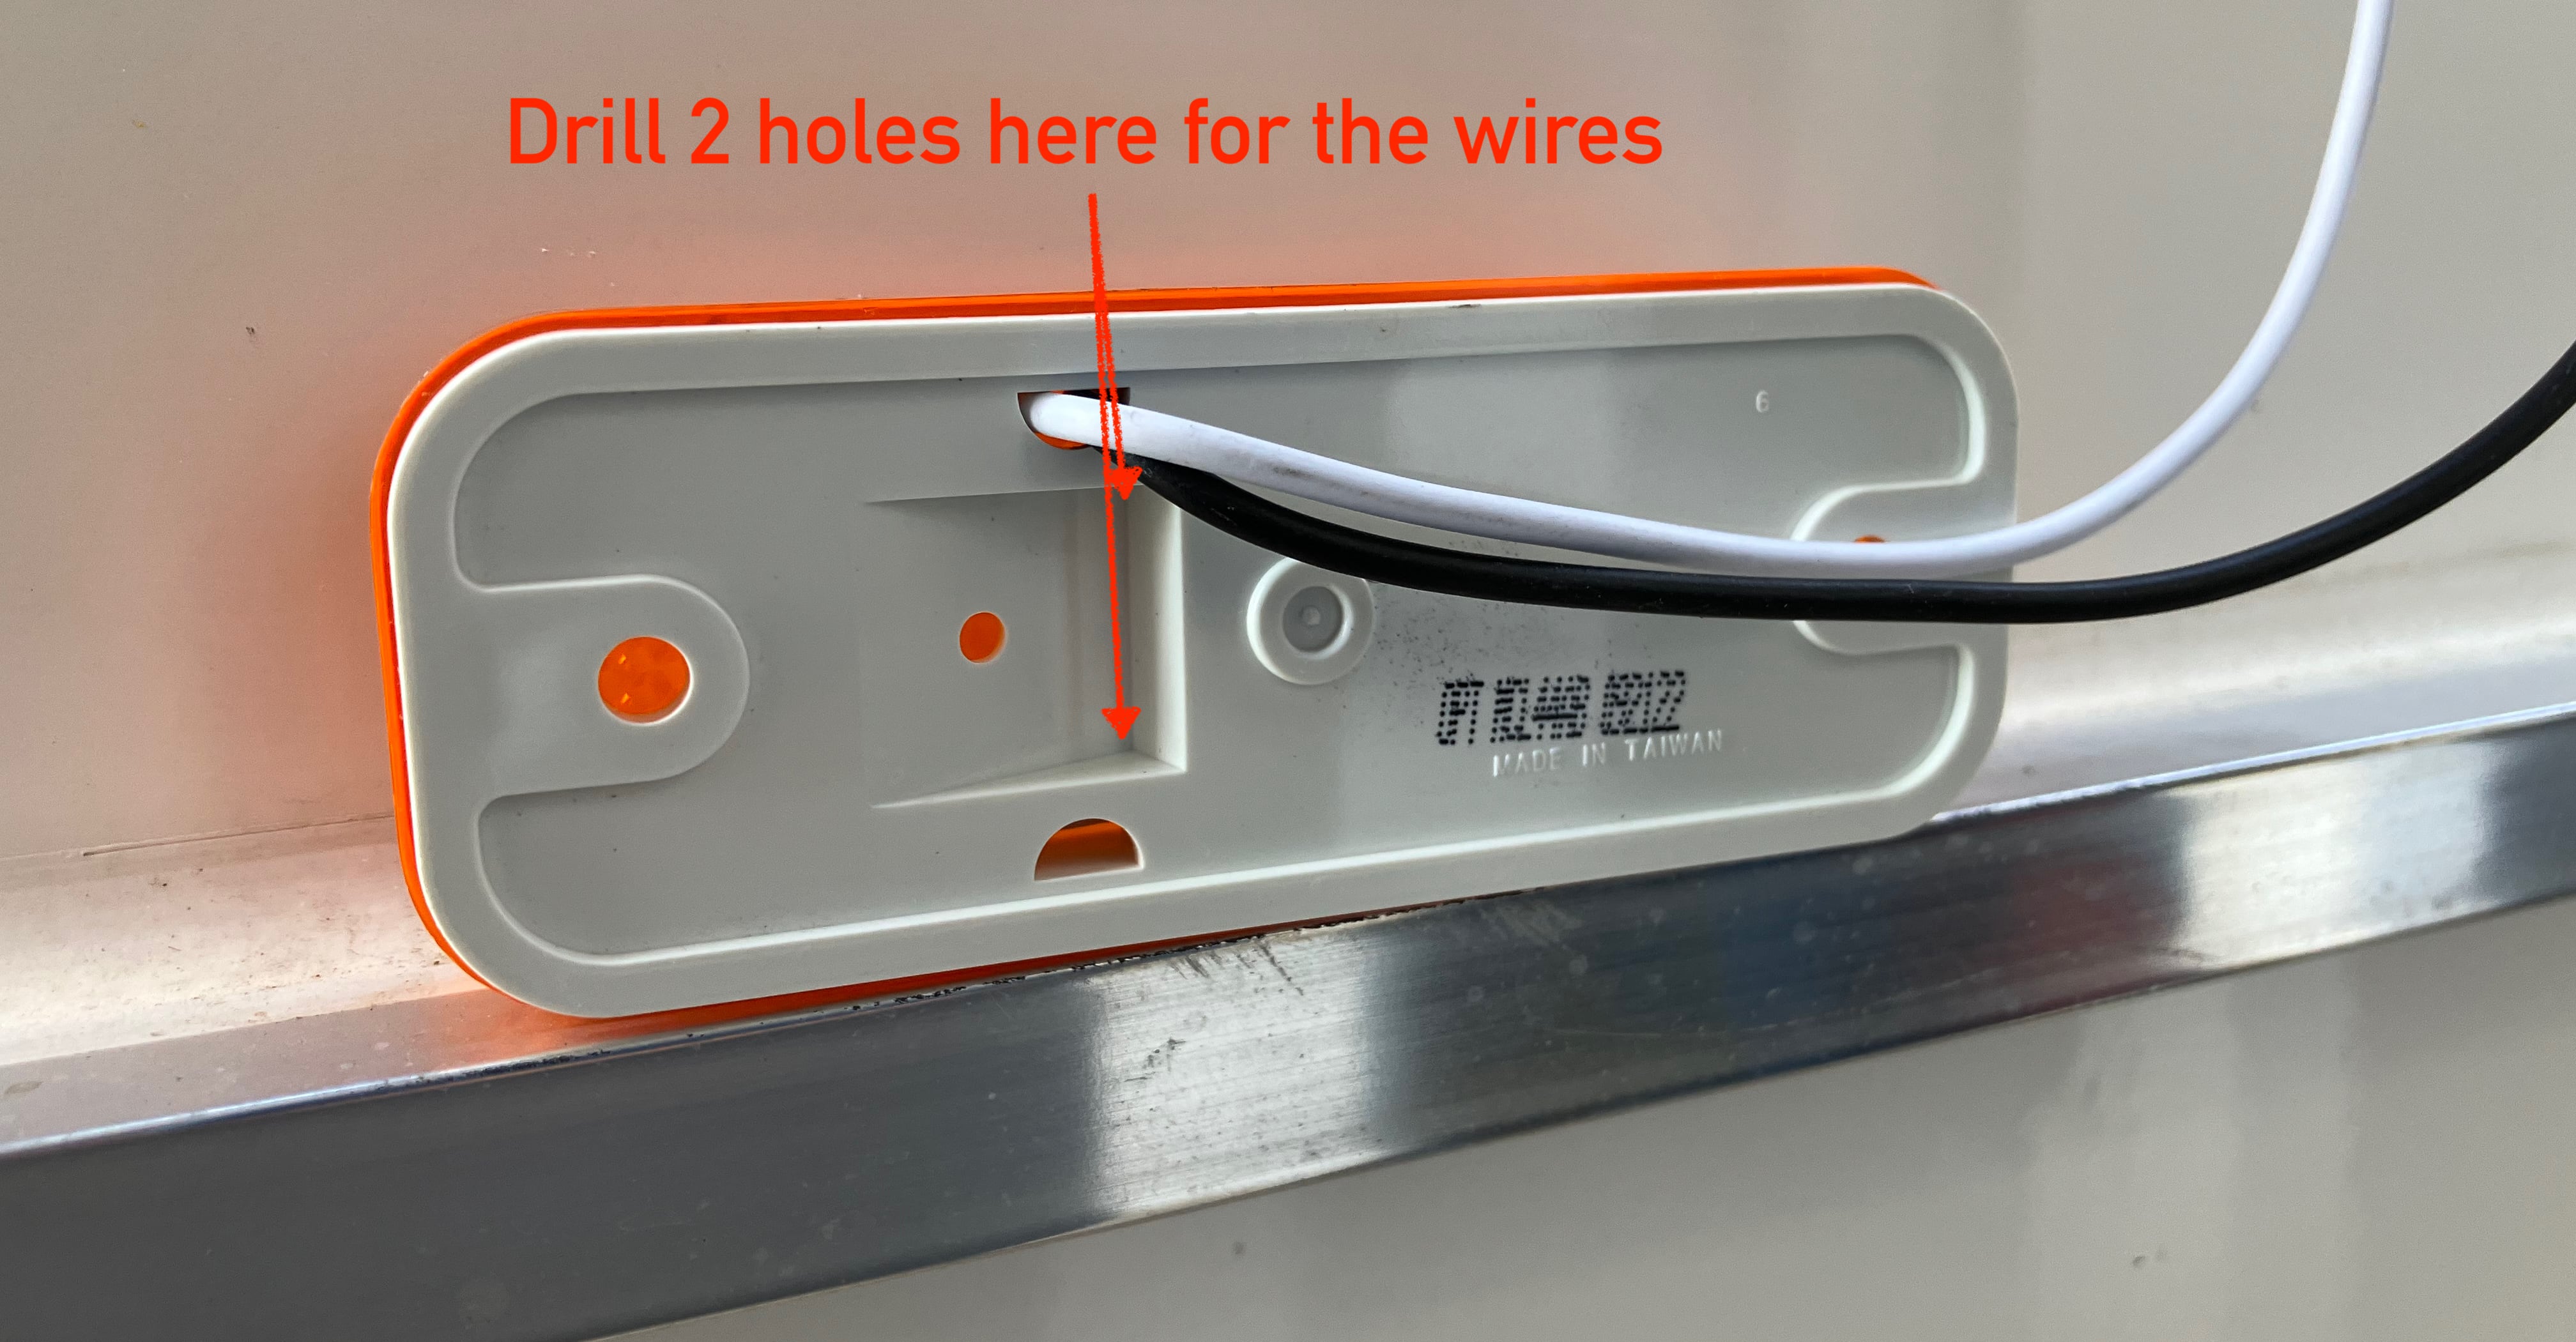
You will need to drill two holes in the new lights for the wires. I used the factory Scamp side marker lights as a template for this. Be careful when drilling, as you don't want to damage the LED board. If you drill at an angle you will miss the board.
These lights are not plug and play. This project will require wiring, drilling rivets, cutting the carpet, and sealing up the new lights with sealant.
Part numbers:
- Red marker light : Optronics part #: MCL44RB
- Amber marker light: Optronics part #: MCL44AB
- Sealant: 3M Marine Adhesive Sealant 5300